How Printmaking Equipment Affects Line Sharpness
Posted by Art Supplies Castlemaine on 25th Dec 2025

Sharp lines make all the difference in printmaking. Whether it’s drypoint, etching or a linocut that relies on fine detail, the clarity of each pulled line can decide whether a print feels crisp or a little off. And that often doesn’t come down to technique alone. The type of printmaking equipment used has a real effect on how lines behave under pressure. From the press to the paper, each tool we choose matters.
We’ve worked with printmakers who sharpen their techniques over years, only to find certain marks still look fuzzy or patchy in the final print. That’s when they realise it’s not them; it’s the gear. So in this piece, we’re walking through the main equipment factors that shape line sharpness in the studio. It’s a mix of material, method and maintenance that really builds consistent quality.
Press Type and Pressure Consistency
Not all presses apply pressure the same way, and that’s a problem when printing clean lines means having a consistent pull across the plate. With manual rollers, the pressure relies on the strength and steadiness of the printmaker's roll. These can work well for smaller lino blocks or monotypes, but they often miss out on the deep, even pressure needed for drypoint or copperplate etchings.
Hand-turned etching presses give better results for this sort of work. They apply pressure more evenly across the whole bed, letting fine lines from plates transfer clearly onto the paper. Still, settings like blanket thickness or roller distance make a huge difference. A set-up that’s too loose can leave shallow detail behind. One that’s too tight can crush both paper and plate.
Then there are hydraulic or motorised presses, less common in home studios but good for controlling pressure repeatably. These can manage larger formats and deeper embossing while still carrying delicate details through. If someone’s finding that their fine linework is losing edge definition, it’s worth checking the pressure balance on their press first before tweaking anything else.
Plate Material and Surface Prep
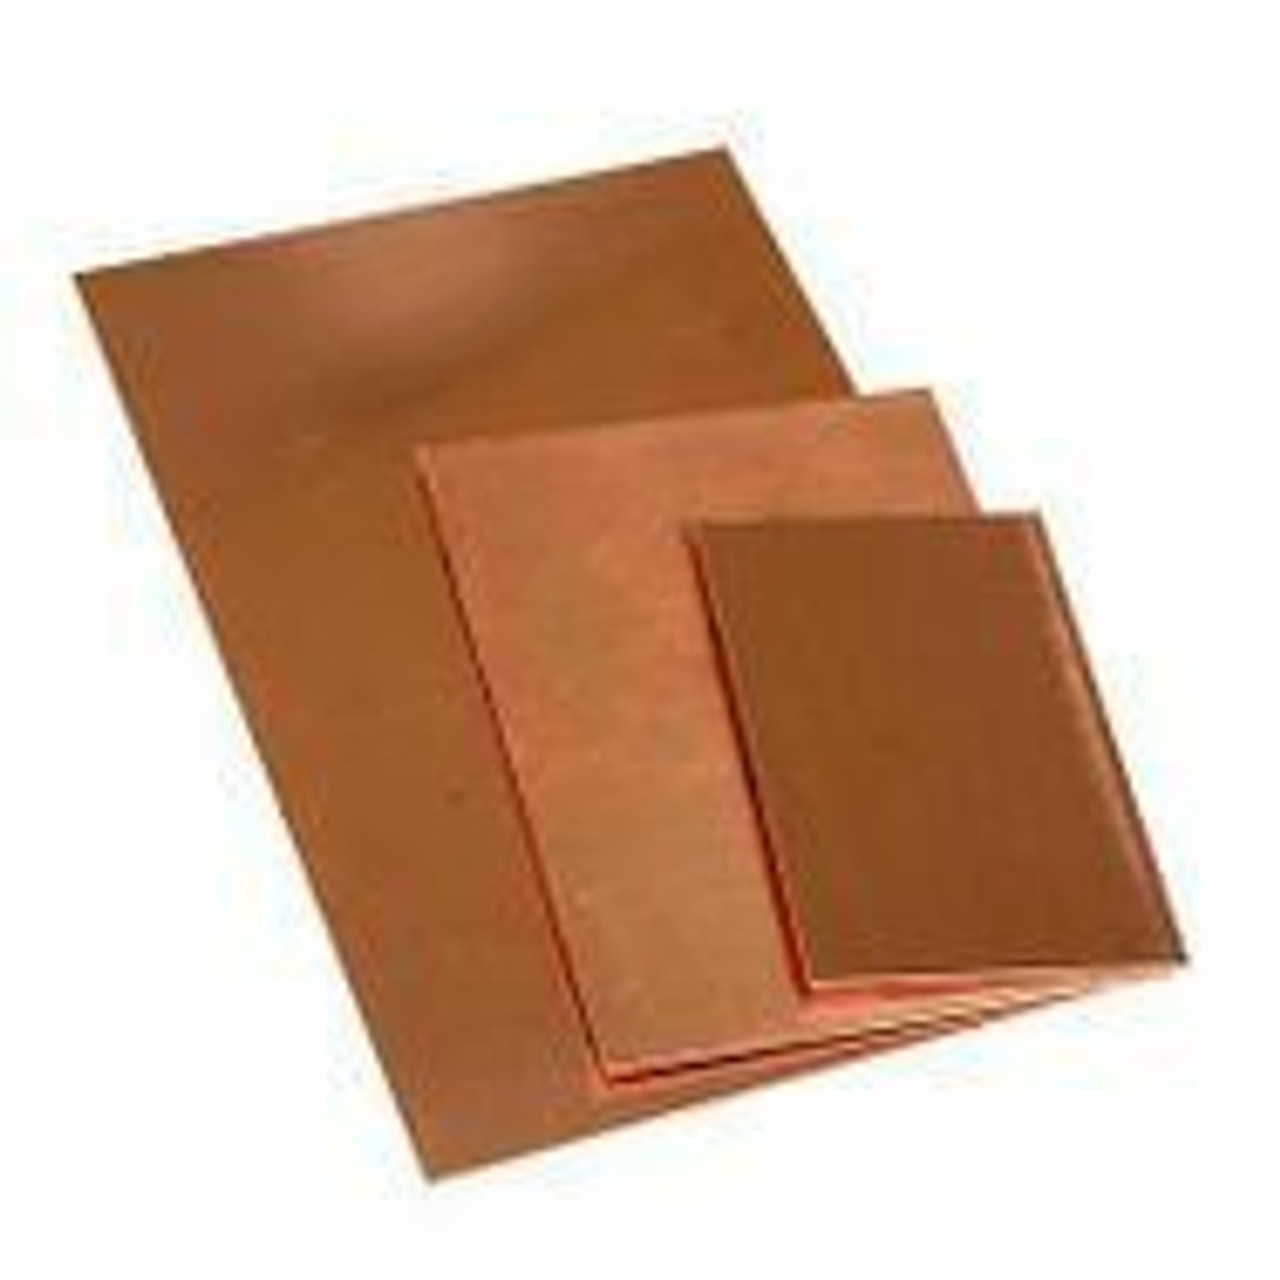
Plates aren’t all created equal. Some materials just hold a line better. Copper plates are popular for detail work because the metal’s density lets tools create clean, deep grooves. Lines etched into copper tend to print sharper, especially in projects needing consistent bite like aquatint or sugar-lift. Aluminium plates are softer, easier to work, but they wear down quicker and don’t hold superfine lines as well over time.
Acrylic sheets (plastic etching plates) are another option, cheaper and lighter, but also more reactive to heat and pressure. Lines made in acrylic can look a bit more rounded or unpredictable depending on how the surface was scratched or abraded.
Prepping the plate is just as important. Polishing reduces small scratches that catch ink unpredictably. Degreasing helps bite levels stay consistent during etching. Some artists prefer pre-heating slightly to open up metal surfaces before biting, which helps acid respond more evenly. Cleaner surfaces mean fewer surprises in the final image and more confidence in your lines.
Art Supplies Castlemaine carries copper, aluminium and acrylic plates, and plate polishing media suitable for detailed prep and clean transfer.
Ink Rollers and Brayer Choices
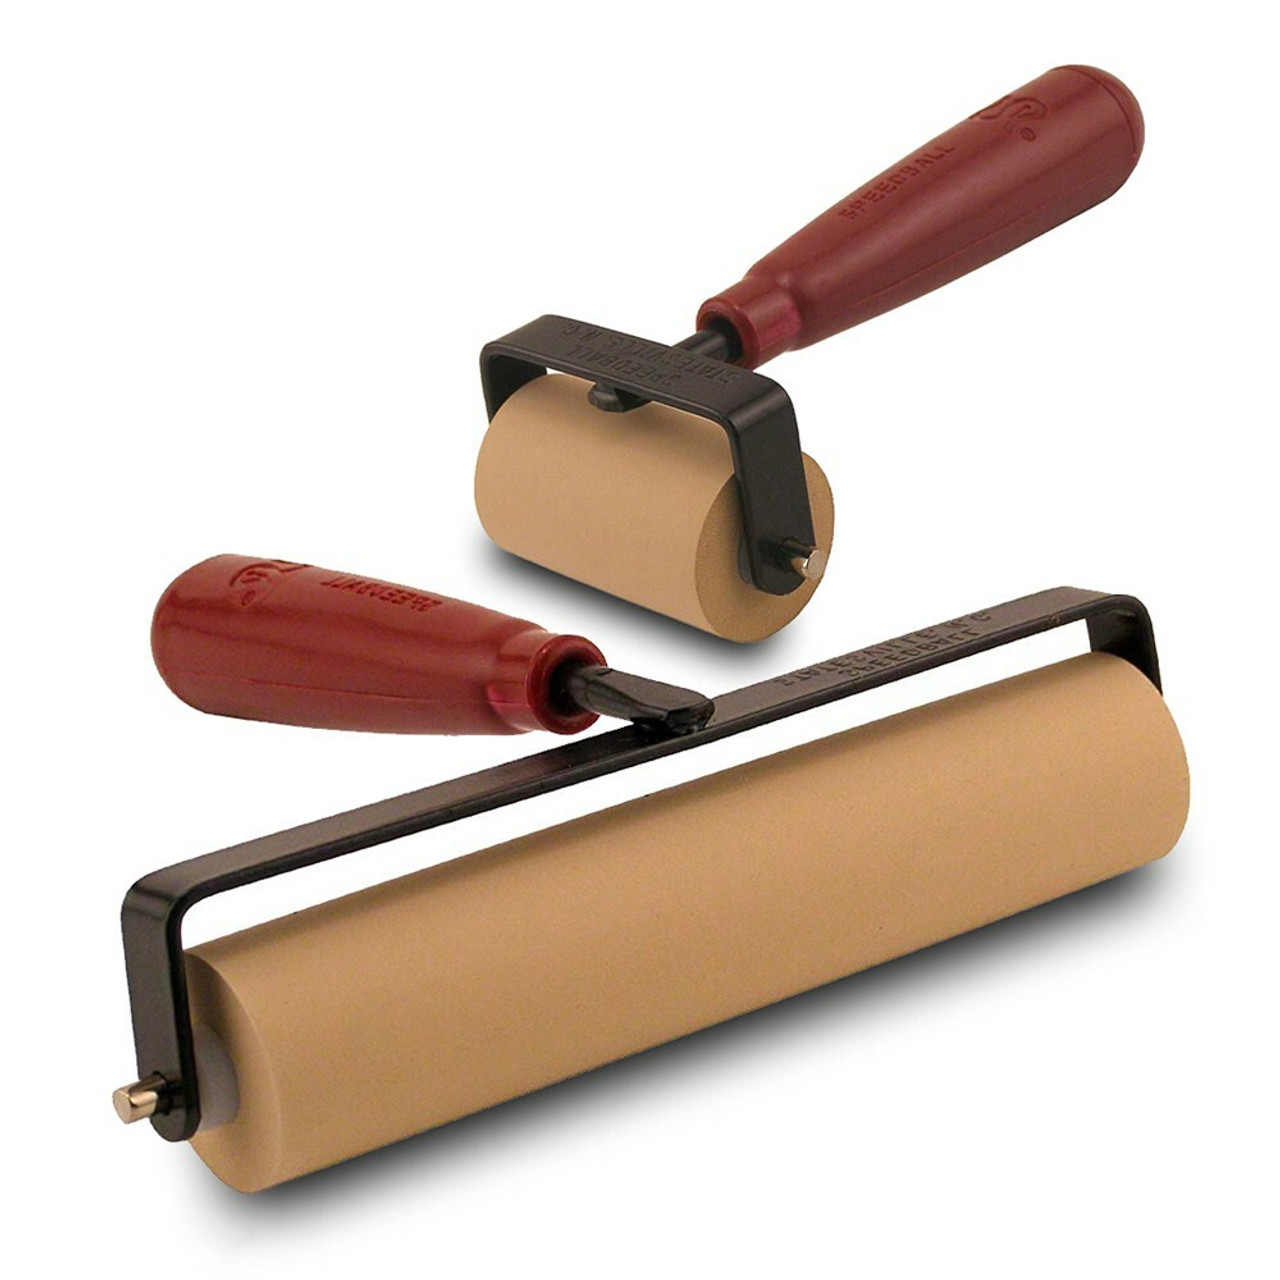
It’s easy to overlook your roller, but it plays a big part in how lines develop. A soft brayer might leave behind too much ink, especially around edges, causing fuzziness when printed. A hard brayer lays down a more defined layer, better suited to fine linework or dry textures. Medium brayers can strike a good balance, but the roller’s age, weight and surface condition matter too.
If a roller has dents or uneven wear, it won’t apply ink cleanly across a plate. That makes it harder for the plate’s linework to show with the sharpness you expect. Inconsistent inking can also overfill recessed lines or fall short on raised ones, depending on the method.
In cooler months, materials get sluggish. Warming a brayer slightly, either by rolling it in clean hands or placing it near a heater for a moment, can get it moving better. The idea is to keep pressure smooth and ink coverage light, so the roller supports line sharpness instead of hiding it.
Art Supplies Castlemaine stocks professional brayers in a range of hardness levels, along with accessories for seasonal ink use.

Paper and Dampness Levels
Paper grabs the ink, but how it does that depends a lot on texture, thickness and how wet it is during printing. For intaglio or drypoint, damp paper is key to getting ink lifted from the grooves in your plate. But if it’s too wet or unevenly soaked, it can cause blurring, bleeding or distorted edges. Keeping dampness consistent helps avoid these issues.
Thicker paper supports clean line pulls better than thin sheets. You get more weight pressing down against the plate, and that creates better contact between the ink, paper and press blankets. Heavy paper also helps prevent buckling during drying or warping over multiple passes.
In summer, everything dries quicker except when humidity lingers. That makes dampening trickier. Some studios adjust timing or store lightly pre-soaked paper between print sessions using blotting layers. Quick checks with your fingertips can tell you how flexible and receptive the paper is feeling on the day.
Paper selections at Art Supplies Castlemaine include summer-appropriate 250 to 300gsm and heavier printmaking papers.
Environmental Factors in Summer Studios
Heat changes how materials act. Press rollers can expand slightly, which throws off pressure levels, especially in machines without fine-tuned settings. Plates stored near open windows can start sticking or warping from direct sun. Even ink gets looser, sometimes too loose, leaving behind smudge marks or ghosting fine details.
Humidity adds another challenge. Felt blankets might dry slowly or hold unexpected moisture, leading to inconsistent pressure or odd textures showing up in the print. Studio spaces without airflow tend to trap this dampness, and that shows up in waviness around the edge of the image or slippage mid-run.
We always suggest double-checking gear in summer. Make sure plates are flat, rollers aren’t dragging on one end, and storage bins are staying cool. Even where things are working fine in cooler times, warm-season shifts can cause hiccups that change how line definition turns out.
Strong Lines, Stronger Prints
Good printmaking starts before ink hits the plate. The tools we choose, the way we maintain them, and the conditions we work in all feed into how sharp a final line can be. A tiny bit of pressure loss, a worn roller, or paper that’s too damp can turn crisp detail into a soft blur.
We’ve found that being consistent with our gear, checking setups, surface prepping carefully, and reading the feel of paper and ink each session, helps keep our line quality where we want it. It’s a slow learning curve sometimes, but the results speak quickly. When the lines are sharp, the whole composition holds together better. And when our materials aren’t fighting us, we get to focus more on form, tone and intent. That’s where the satisfaction is.
Sharpness and clarity come down to more than just technique, having the right setup can make all the difference. From presses and plates to surfaces that handle ink just right, every part plays a role in how your final image turns out. At Art Supplies Castlemaine, we carry studio-tested options to support your process from start to finish. You can browse our selection of printmaking equipment to find what suits your setup, and if you’d like help choosing, just give us a call or drop by.