Where to Start When Picking Linocut Supplies for Beginners
Posted by Art Supplies Castlemaine on 28th Mar 2026

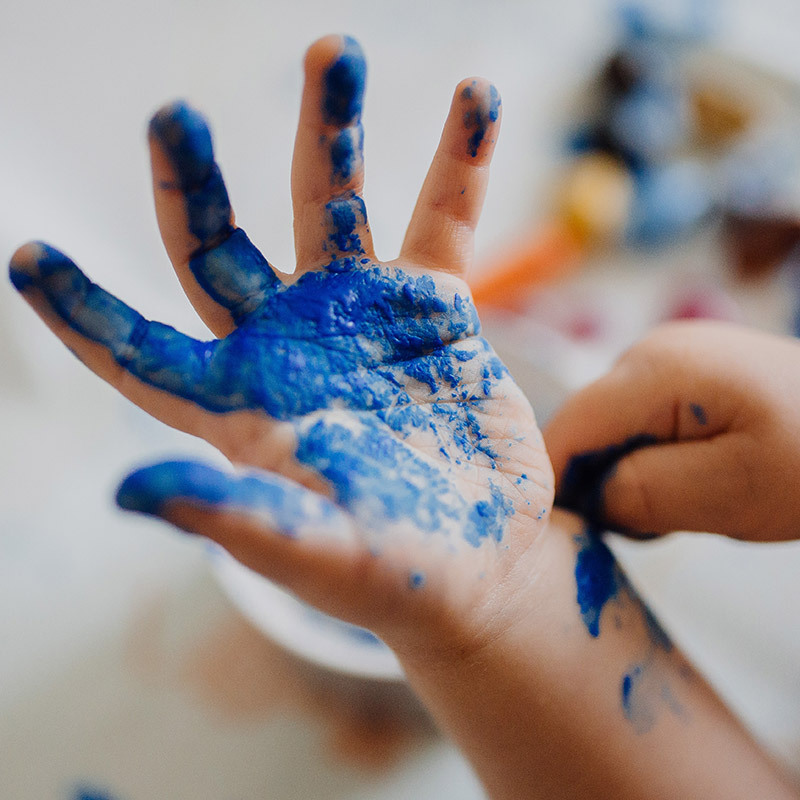
Linocut printing is a hands-on and satisfying printmaking process that many beginners find welcoming. At first glance, the number of tools and materials might feel like a lot. But with the right linocut supplies in front of you, the steps become easier to follow, and you're free to focus on making art instead of figuring out where to begin.
Linocut uses a sheet of linoleum as a block to carve images into. Once your design is cut out, you roll ink across it and press paper onto it to make a print. Sounds simple, but the kind of block, tools, ink, and paper you use will all shape the final outcome. That is why it is worth getting a sense of what each supply does before starting.
Getting to Know Linocut Blocks
The block is where everything starts. Printmaking linoleum has a firm texture that holds detail well once carved. Traditional Essdee Lino Grey blocks are 3.2mm thick, hessian backed soft lino formulated for printmaking, and are available in compact sizes such as 100 x 150 mm that suit first projects. They work beautifully but for new hands, lino can feel stiff and a bit tricky on cold days when the it hardens. Tip: keep your lino warm!
Alternatively vinyl or pvc green/blue blocks feel a little softer and have the added benefit of having a black core which gives a colour contrast and helps you to see your design. This can be a great option if you are just getting used to how carving feels.
Picking Your First Carving Tools
Carving tools come in a range of shapes and handle types, but for a first kit, you really only need a handful. The two most common blade shapes are V-gouges and U-gouges.
V-gouges cut sharp, narrow lines and are great for outlining or adding detail. U-gouges make broader, rounder cuts, perfect for clearing larger areas or creating soft shadowing. Most starter sets include a few of each in different sizes. For a simple toolkit, individual Sterling V shaped and U shaped lino carving tools or a basic six piece lino chisel set with high carbon steel blades and wooden handles cover most beginner cuts.
When using these tools, start slowly and keep your hands behind the blade path to avoid accidental nicks. Grip the lino block with one hand (on the side) and carve away from yourself. If you feel the tool slipping or dragging, it might just be a blunt edge or too much pressure. Regularly checking your blade sharpness makes work cleaner and safer for beginners.
Choosing the Right Inks for Better Prints
Inks do more than just add colour. The type of ink you use will change how your print looks, how long it takes to dry, and which paper it behaves best on.
Water-based inks are easier to clean up and dry faster, which is handy for small home spaces or schools. They tend to dry to a matte finish and can have a slightly chalky feel on some papers. Oil-based inks like Caligo Safe Wash Relief Ink take longer to dry but give deeper colour and a smoother print. You can clean these up using a water-mixable cleaner, so do not feel ruled out if you are not working in a studio. Non toxic water based block inks such as Derivan Block Ink are formulated with a consistency suited to lino and woodblock printing and wash out in water, while Speedball water soluble block inks have an extended open time so you can work on the block longer before the ink starts to skin.
March often brings mild warmth across Australia, which can affect how quickly different inks dry. If you are printing in a room without air conditioning or near direct sunlight, water-based inks might dry too fast on the roller or block. In those situations, oil-based options or adding a retarder medium can slow things down and give you more working time.
What Paper Works Best for Linocuts
Paper might seem like a simple part of the process, but it can really change how each detail in your print shows up.
Lighter papers like rice paper and mulberry work well with hand-pressing methods. They hold ink well without needing lots of pressure and are smooth enough to grab even fine lines. If you are using a baren or spoon to press your image, these thinner sheets are forgiving.
A few beginner-friendly options are:
- Japanese papers like Okawara, Bunkoshi, Shiramine or Hosho paper for softness and ink absorption
- Cartridge paper as a reliable test option
- Dutch Etch - 250gsm but still printable by hand
Texture matters too. Rougher papers can break up ink coverage and give a more textured look. Smooth papers give crisper detail but may require more practice to handle during printing.
Extras That Make a Big Difference
Some tools in printmaking are not about the artwork itself but about keeping your process clean, steady, and safer.
Here are some extras worth making space for on your workbench:
- Baren or wooden spoon for pressing prints evenly by hand
- Soft rubber roller (brayer) for smooth ink application
- Cutting mat or board to protect surfaces while you carve
- Newsprint or scrap paper for testing ink levels before printing
- Damp cloths for quick hand or tool cleaning mid-session
Lighting and workspace setup are just as helpful as the gear. A well-lit spot where you can sit or stand at a steady table helps cut down on small slips and awkward angles. Having clear space around your materials helps you focus more on the craft and less on managing clutter.
Some beginner slips (like over-inking the roller or rushing carving cuts) happen less often when the gear around you supports a slower pace and better posture.
For most beginners, starting with:
- A small block size, like 10x15cm or 15x20cm, to keep the work manageable
- A limited medium quality toolset like the a Japanese 3 chisel set
- Lightweight Japanese papers and,
- A water washup ink that gives you time to play like the Speedball water based inks
These choices help make your first few prints less about struggling with the material and more about learning how it behaves.
Taking the First Step with Confidence
Starting with the right linocut supplies can make your first print session feel less like guesswork and more like a hands-on learning moment. Knowing what each tool does, how surfaces behave, and how ink dries under your conditions gives a solid base to grow your skills.
It is not about getting the perfect print right away. Try out different combinations of blocks, tools, and papers. Watch how each mix reacts, where it surprises you, and what feels good under your hands. That is how the best learning happens.
Getting started with printmaking and looking for guidance in selecting the right tools? We are always happy to help you sort through options that match your style and space. From carving tools to clean-up supplies, we test what we recommend so you end up with materials that feel good to use. For those still building confidence in their practice, our guide to linocut supplies offers plenty of ideas worth exploring. At Art Supplies Castlemaine, we support artists at every stage so send us a message if you would like help piecing together your first block printing kit.