Steps to Prepare Aluminium Plates for Consistent Etching Results
Posted by Art Supplies Castlemaine on 27th Mar 2026

Aluminium etching is a familiar process in printmaking circles, but like most hands-on work, the small steps can make the biggest difference. If a plate isn’t prepped the right way, you are bound to run into problems. Lines can break up, tones might look patchy, and worse still, you might have to toss the whole thing and start again.
Prep work becomes even more important in summer. Hot days and high humidity can speed up drying times in odd ways, making grounds streak or behave inconsistently. By working through a simple, clear method that suits Australian studio conditions, we can give ourselves the best chance at clean results with fewer surprises.
Choosing the Right Type of Aluminium
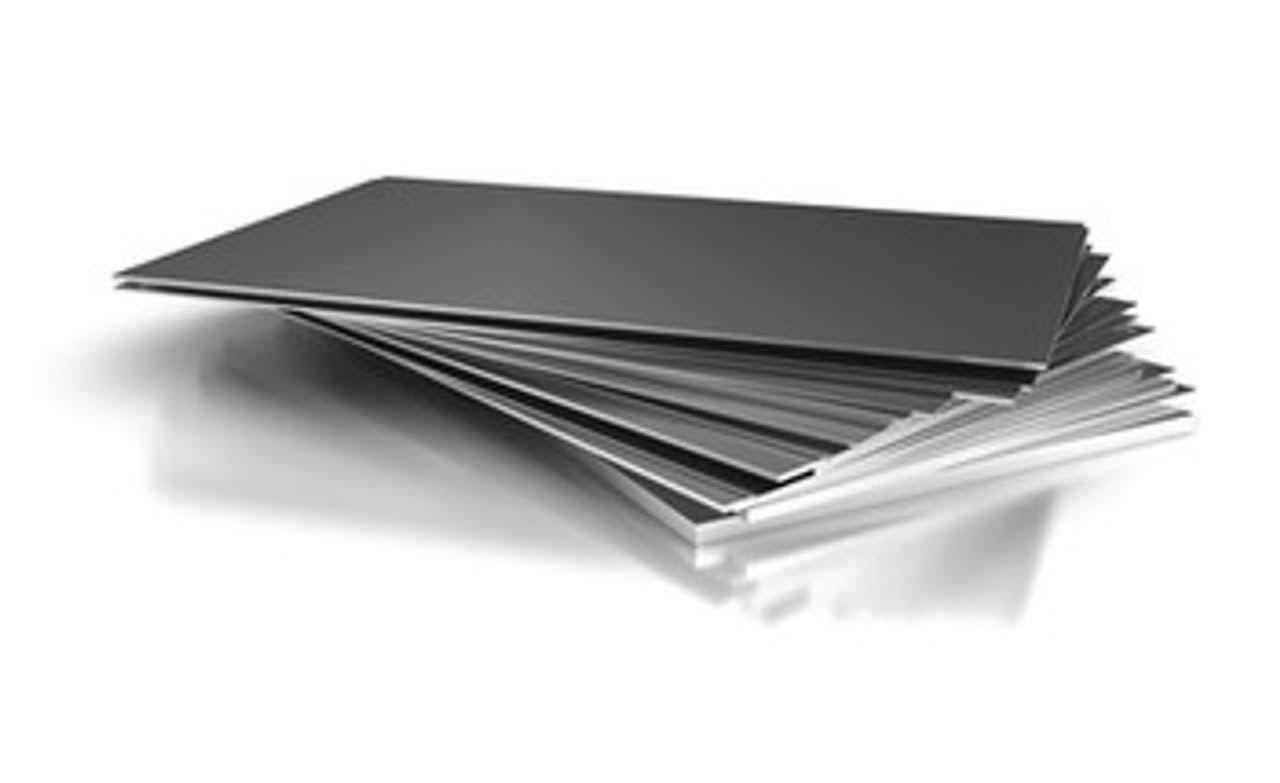
Before any surface cleaning or acid work begins, we have to start with the right plate. Not all aluminium behaves the same once it hits the etching bath. There are a few types you might come across in the studio:
- Raw aluminium is usually the most affordable but needs full surface prep
- Anodised aluminium has a hard protective layer that must be removed before etching
- Pre-grained plates are time-savers, but they limit how much you can control surface texture
We have seen plenty of recycled plates float into the mix too, especially offcuts from framing or signage. They can work, but you have to keep in mind that unknown coatings or irregular thicknesses usually lead to guesswork and atypical bites.
We stock polished aluminium etching plates in 9 different sizes that are plastic coated for a smooth surface, 1.25mm thick, and great for drypoint or etching with Ferric Chloride or Copper Sulphate, which helps keep plate behaviour consistent from project to project.
The biggest thing to remember is that from project to project, consistency is everything. Matching the same plate type and source helps keep results more reliable across editions and avoids having to make adjustments on the fly.
Cleaning the Surface Before Etching
Every plate comes with its own surface grime. Whether it is natural oxidation, leftover oils from handling, or a thin factory coating, it needs to be cleaned before anything else.
Rub the plate with a non-scratch abrasive pad and hot water and mild detergent. The goal here is not to polish the plate, just to get it back to a neutral raw surface.
Once clean, the surface lets our ground stick evenly. If we skip this step or don’t go deep enough, the ground can bead up, flake, or resist in places, making the acid bite unevenly. That is where frustration builds in later, when the print starts showing random gaps or faded linework.
If still a little greasy use whiting rubbed across the plate with a bit of water and a clean rag, then rinse well and let it dry. If the water sheets off cleanly without beading, you are likely in the clear.
Degreasing and Controlling Surface Grain
From there, we focus on how the surface feels. A too-smooth plate can make harder grounds lift or result in softer tonal builds. Etchers often turn to light sanding, pumice application, or fine abrasives to give just enough grip to the surface.
The roughness affects how well resists sit and how tones appear in the final print. If you are chasing fine linework with clear contrast, that surface prep makes a big difference.
Applying and Testing Ground Coatings
Grounds are where things start to look familiar in the process, but with aluminium, we have to pay closer attention. Unlike copper or zinc, aluminium can be a bit tricky with how it holds some traditional grounds.
Before covering a full plate, testing a corner patch can save a lot of trouble. Sometimes the ground creeps or wrinkles, especially if there is too much moisture in the air during application. On hot days, streaks can appear if the ground starts drying before it is evenly spread.
Picking between hard, soft, or liquid grounds depends a lot on the final look you are aiming for. For clean lines with a steady bite, a hard ground tends to suit best. For more tonal or drawn textures, soft ground offers more freedom.
For non-toxic options, BIG etching ground works as both a soft ground and a hard ground depending on whether you roll it out thinly or bake it after application, which can be useful when you want flexibility on aluminium without changing products.
Etchant Choice and Safe Handling Practices
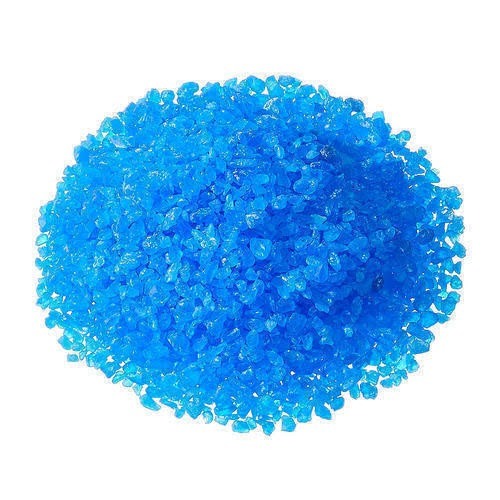
Not all acids bite into aluminium the same way. We avoid traditional nitric solutions for health reasons, and most studios now use a salt-based mordant or copper sulphate mix instead. Slower bites are usually better for control, and they help prevent unwanted pitting.
Whenever we are etching in summer, we adjust our ventilation and timing carefully. A cool, shaded space helps keep the bath at a stable temperature, even on a hot day. Wearing gloves, eye protection, and covering exposed skin is always a given, but we also double up on clean-up routines during hotter months to avoid residues drying too fast.
To avoid over-biting or patchy results, we usually follow these steps:
- Note the time as soon as the plate enters the bath
- Check bite progress every few minutes, especially if the plate is thin
- Keep a rinse bath nearby so the acid does not keep reacting after it is pulled
Good timing goes a long way to avoid rework later.
Clean Finishes Start with Careful Prep
Clean, consistent results do not just happen. They come from treating each prep step as part of the print. It is easy to lose time scrubbing or reworking something that could have been prevented with early attention.
When aluminium etching is done thoughtfully, there is more room to focus on creative choices rather than hunting down problems after the fact. Whether it is the type of plate, the ground you use, or how long you leave it in the bath, the best fix often comes before the bite.
You can find more support and technical materials for aluminium etching in our dedicated printmaking section, and if you have any questions or want to discuss options, please get in touch with us at Art Supplies Castlemaine.